如何在 SwitchyOmega 浏览器扩展上设置代理
- 单击浏览器中的 SwitchyOmega 图标,然后打开 选项。
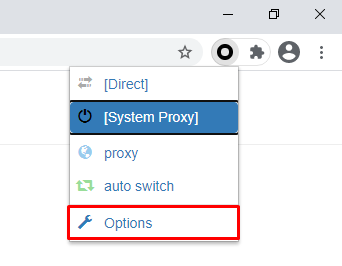
SwitchyOmega – Options
- 单击配置文件选项卡中的新配置文件按钮。
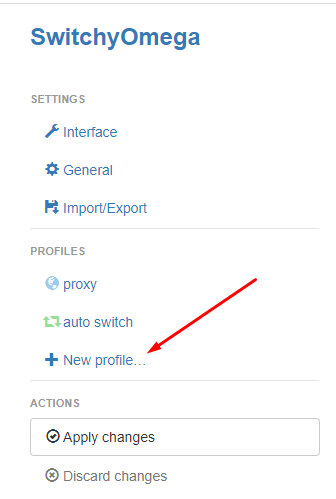
SwitchyOmega – New profile
- 在弹出窗口中的配置文件名称下写下你喜欢的名称。选择代理配置文件选项。然后,单击创建按钮。
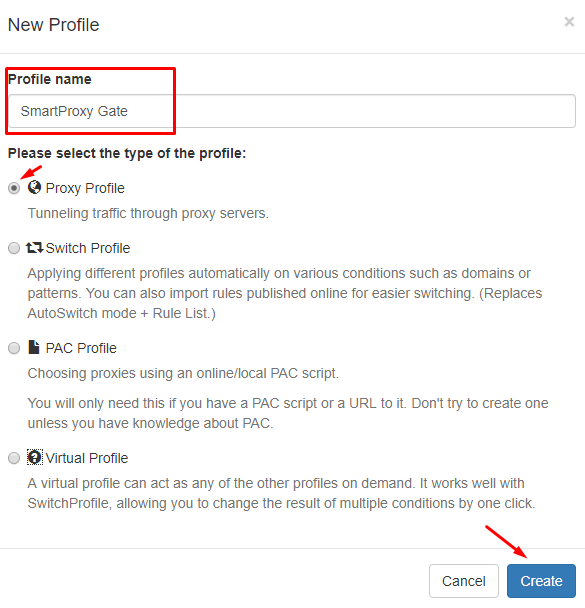
SwitchyOmega – Profile name
- 在生成的表中选择HTTP。你可以在 协议 列下找到它。

SwitchyOmega – HTTP Protocol
- 在 服务器 和 端口 列中输入你的首选端点详细信息。如果你使用列入白名单的 IP 功能,请跳至本教程的第 7 步。如果没有,请单击锁定图标。
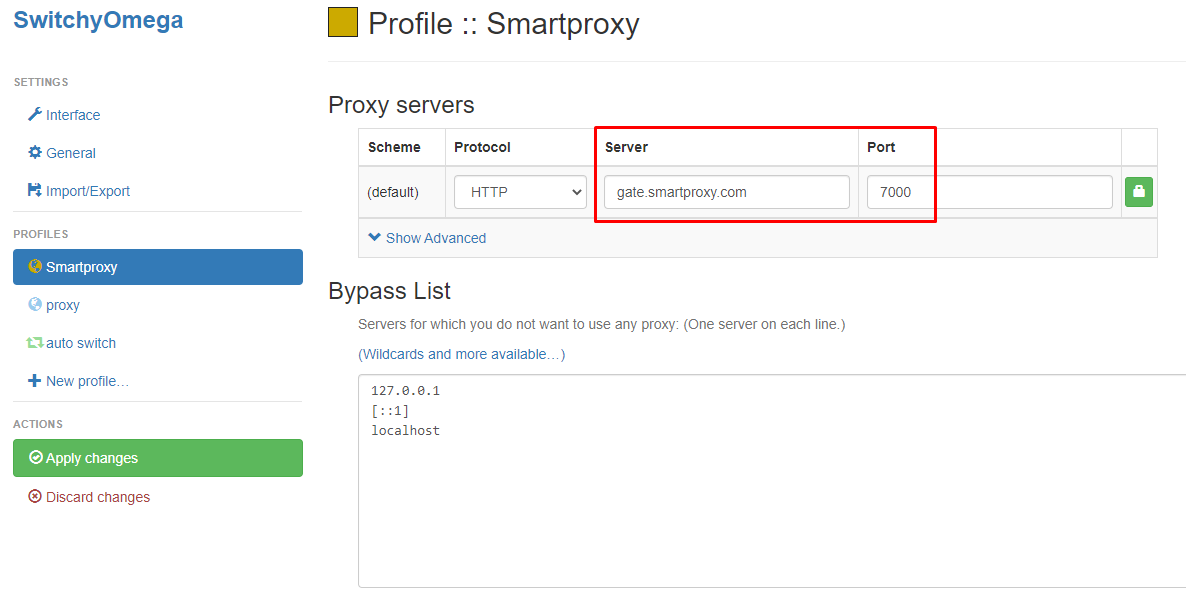
SwitchyOmega proxy settings – Server and Port
- 输入你的用户名和密码。然后,单击弹出字段中的 保存更改 按钮。
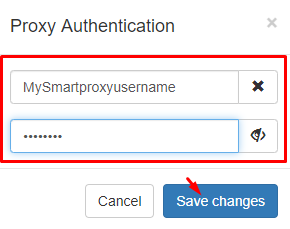
SwitchyOmega – Proxy Authentication
- 单击 应用更改 按钮应用设置并为你的代理创建配置文件。你可以在操作下找到它。
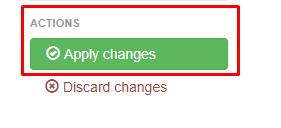
SwitchyOmega – Apply changes
- 当你通过扩展程序图标访问 SwitchyOmega 时,你创建的配置文件现在将显示在代理列表中。
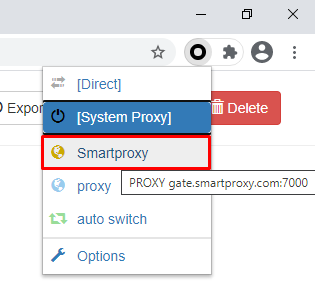
SwitchyOmega – Select proxy profile
Updated over 1 year ago
